Choose a practical format
Compare blister, clamshell, carded, fold-seal, tray, carton, and related options using product fit, retail presentation, material goals, volume, and budget.
Packaging artwork is more than decoration. It has to work with the product, package format, seal area, tooling, hang hole, required copy, barcode placement, and production method. Bringing Powerpak into the conversation early helps connect those decisions before they become difficult or expensive to change.
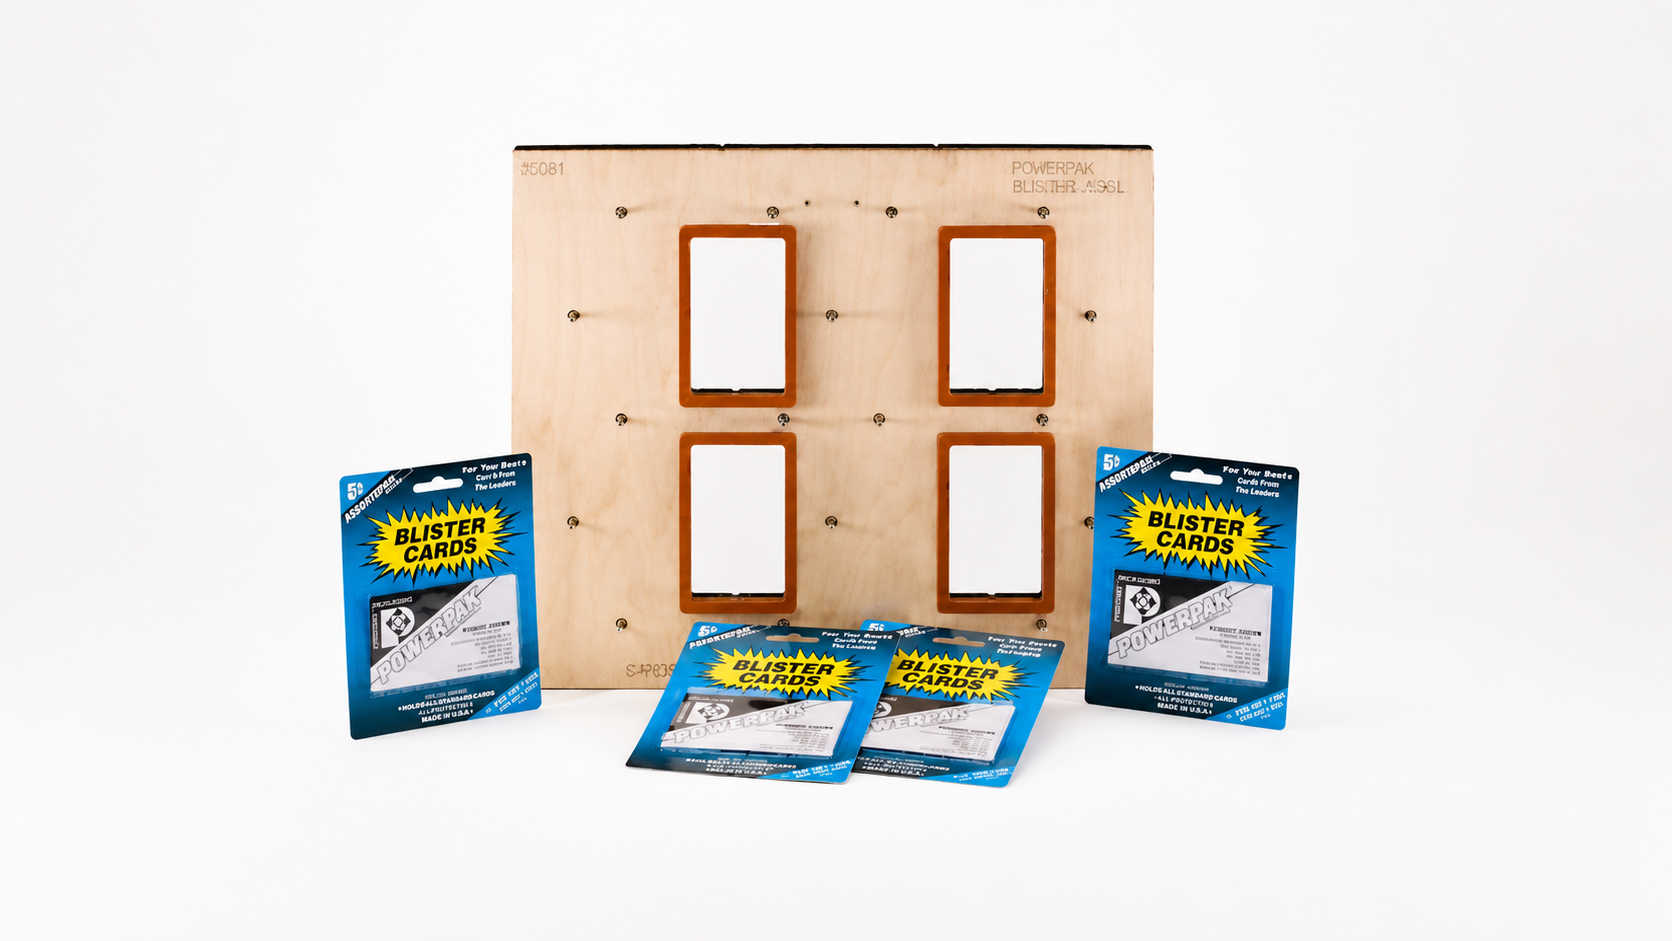
A design can look finished on screen and still create problems at the sealing machine or on the retail shelf. The dieline establishes where the card is cut. The seal area needs room to bond. The hang hole affects how the finished package balances. Barcodes, warnings, instructions, and retailer requirements all need usable space.
Planning these details together helps reduce avoidable file revisions, proofing cycles, material waste, reprints, and launch delays.
You do not need finished artwork before contacting Powerpak. Early product information gives us a chance to guide the package direction while the important choices are still flexible.
Compare blister, clamshell, carded, fold-seal, tray, carton, and related options using product fit, retail presentation, material goals, volume, and budget.
Review product orientation, cavity size, stock or custom tooling, operator workflow, target output, and how the selected package will be sealed.
Work backward from the target date so dielines, artwork, proofs, samples, supplies, tooling, and equipment decisions happen in a practical order.
The best time to involve Powerpak is before a package format, dieline, or print run is locked. Send what you have—even if that is only a product sample, photo, rough sketch, or launch goal.
Every project is different, but the same decisions have to line up before a repeatable package can be produced.
Share product dimensions, weight, photos or samples, retail goals, volume, and launch timing.
Compare formats and materials based on protection, visibility, branding, customer experience, and cost.
Connect the product cavity, card shape, seal area, hang hole, tooling, and machine requirements.
Prepare production-ready files, review placement and copy, and approve proofs or samples before production.
Confirm supplies, tooling, equipment, operator needs, quantities, and timing for the intended launch.
Send the information you already have. Powerpak can help identify what is still needed and which decisions should come next.
| Product | Dimensions, weight, sample or photos, orientation, fragile areas, and handling concerns. |
|---|---|
| Retail goals | Hanging or shelf display, visibility, security, sustainability, branding space, barcode, warnings, and retailer requirements. |
| Artwork status | Brand files, copy, rough layout, existing dieline, finished art, or simply a note that artwork has not started. |
| Production | Estimated quantities, monthly volume, launch date, package format interest, and whether equipment or tooling is needed. |
Send Powerpak your product details, current files, questions, and target date. We will help organize the next practical steps.